Showing posts with label delicious. Show all posts

Sunday, 28 September 2014

Sushi Sunday


Hello! How have you been? It has been an awfully long time since I last posted, and i can do nothing but apologise for that, but I just simply haven't had the time but I am going to try harder, and with October and more importantly Halloween coming up there are plenty of baking treats and opportunities to be had! 
Also at the end of October I will be going to one of my all time favourite-est places, Sardinia, where I am hoping to find some inspiration in the streets, shops and markets of Alghero, so watch this potentially exciting space.
So Sushi may seem a bit bizarre to be posting now, but i made it in the summer and so desperately wanted to post it, before it got too out of season, and who knows you may want to make it now? Or perhaps squirrel this one away over winter for next summer!


Now I am by no means a sushi expert, and I am aware it is not baked, but it is a lot of fun to make, and you don't (really) need the "proper" equipment, i didn't use any, and i was very pleased with the turn out! 
The beauty of Sushi is that you can do whatever you like to make it yours, and is perhaps less intimidating for those not so keen on fish, as it is in small quantities, has no bones, and can be balanced out with amounts of rice and vegetables of your choosing.

Equipment Needed

Please don't go out and buy a bamboo mat, unless you really want to of course, as it isn't needed. For making my rolls of sushi I used a silicone baking sheet, but I think even some good quality thick greaseproof paper would do the job, so no worries! Apart from that you will only need a decent knife, a chopping board and perhaps a bit of artistic license. 

Ingredients:

Sushi Rice (cooked according to instructions on packet)
Sheets of Seaweed
Vegetables- You can use whatever you want here, I used Cucumber, Bell Pepper and Spring Onion 
Fish- Smoked Salmon is a classic, I also used smoked Mackerel, but you could also use Prawns etc.
(*Please be aware that not all fish can be eaten raw, and that you ask your fishmonger or check online to see what prep needs to be done to any fish before hand)
Sesame Seeds
Poppy Seeds
Soy Sauce, Wasabi and Pickled Ginger to serve (optional)

Method:

Sushi Rolls (Norimaki)

1. Cut all fish and vegetables into similar sized long thin strips, make sure rice is cool before using it.

2. Lay a sheet of Seaweed on top of rolling sheet, and spread a layer of rice over it about 1cm thick, leave a strip of seaweed bare along the top about 3cm wide, this is so that you can seal your sushi roll after rolling it.

3. Place your fish and vegetables in a line along the bottom, the entire width of the seaweed. You can be as creative as you like here with colours and flavours, and can also sprinkle sesame and poppy seeds along here as well.

4. Now for the rolling- 

  • Make sure the filling is the closest thing to you, so you are rolling away from you
  • Picking up the edge of your rolling mat, and holding in the filling with the tips of your fingers, slowly start to roll it up
  • Be sure to keep it tight, squeezing after each movement, and to pick up your rolling mat as you go so as not to roll it into your sushi, also keep an eye on the ends for any escaping fillings.
  • When you get to the bare patch of seaweed you can remove the rolling mat, and roll it that last stretch with your hands and use it as an opportunity to tighten it and make it look more presentable
  • The moisture in the roll should be enough to stick that last bit of seaweed down, and seal it up
5. Now all that is left to do is to cut up your sushi roll, and start making more!

Method:

Nigri

This is a very simple variation of sushi, which involves no rolling, and no seaweed if you don't want it to, it is shown at the forefront of the picture.

1. Vegetables will need to be cut into strips, whereas any fish will need to be a wider piece that can cover your rice, if using prawns you may want to butterfly them out.

2. Using two spoons or your hands, whatever's easiest, shape your rice into a "quenelle" type shape, which will look like a little rice parcel, make sure this is compact and secure.

3. Then place vegetables of choice on top of rice and then lay you fish over this.

4. If you like you can cut some seaweed into strips, and tie this around you little parcel, or can leave it as it is.


So that is the basics of sushi and as you can see it is relatively simple to make! Make this with friends and family, as it is quite a fun interactive activity and enjoy with plenty of soy sauce, wasabi and pickled ginger.

I hope you enjoyed this little recipe for something quite different, I hope I can be forgiven for my absence from blogging, but i really do hope to be doing a lot more of it, especially at this time of year, when baked goods are all that seem to make sense.
Thanks for reading, as always I love reading your comments and emails, and please do carry on sending in your suggestions for recipes you would like to see me make, you can also use the contact box to the side of the screen.
Until next time, Elise xxx

Saturday, 24 May 2014

A Bunch of Roses


Who doesn't love roses? They are an iconic flower, but there is certainly no excuse to dislike them in cake form! 
For years i have marvelled at peoples abilities to ice cupcakes like this, but i have only just got round to trying it out, and i am very pleased i have. So i thought i would give you a quick tutorial on how to create these magnificent blooms for yourselves, which are sure to impress anyone, and are simple once you know how.


I think that one of the reasons i hadn't got round to trying it for so long, is that unfortunately you do need a very specific type of icing nozzle, which probably wouldn't be found in your every day icing set. But once you have bought it, there is no more work involved, and it will last you a lifetime. 
The tip used is the Wilton 2D brand, which I'm sure many bakers would of heard of before. This can be bought on Amazon for about £3.
Wilton 2D Tip


Prep


So for Prep work you will need the cupcakes that you are planning to Frost, these will need to have a reasonably flat top, and you can level them out as you can see i did with mine. 
You will also need your buttercream icing, which you will need to make quite thick, so that the shape of the roses hold, you don't want it to have any wobble if you shake it in the bowl. Colour your icing the desired colour, sticking to actual rose colours will make it look more realistic, and pop into your bag, fixed with the 2D tip.

Tutorial


1.Flatten the top of your cupcake, so you have a level base on which to ice.


2. Place the tip in the centre of the cake, and squeeze a small amount out in an upwards motion, this will be the bud of your cake, and what you wrap your 'petals' around. 

3. Pull your nozzle to the side a bit, and switch from an upwards pull on your icing bag to pulling it tightly around the 'bud', but making sure you don't press your nozzle to close to the cake, let the icing fall out. 


4. Continue pulling round the inner circles in a spiralling motion to form the outer petals, using the same technique. Once you reach the last bit of cake, start pulling up slightly, and slow the flow of icing.


 5. Lift off as you reach the end and smooth down the break with either your finger or a wet paint brush. 


 6. You can now customise your cakes however you wish, maybe some edible pearls in the middle, or leave the icing to dry for a bit and brush the tops of the petals with edible glitter of lustre. 


So there you have it the most delicious bunch of roses you will ever happen to eat! I hope you enjoyed this Tutorial Blog Post and that it has helped you. If you would like me to demonstrate something, please comment below, or use the contact box to the side.
Until next time, Elise xxx
Monday, 5 May 2014

Trifle Cupcakes


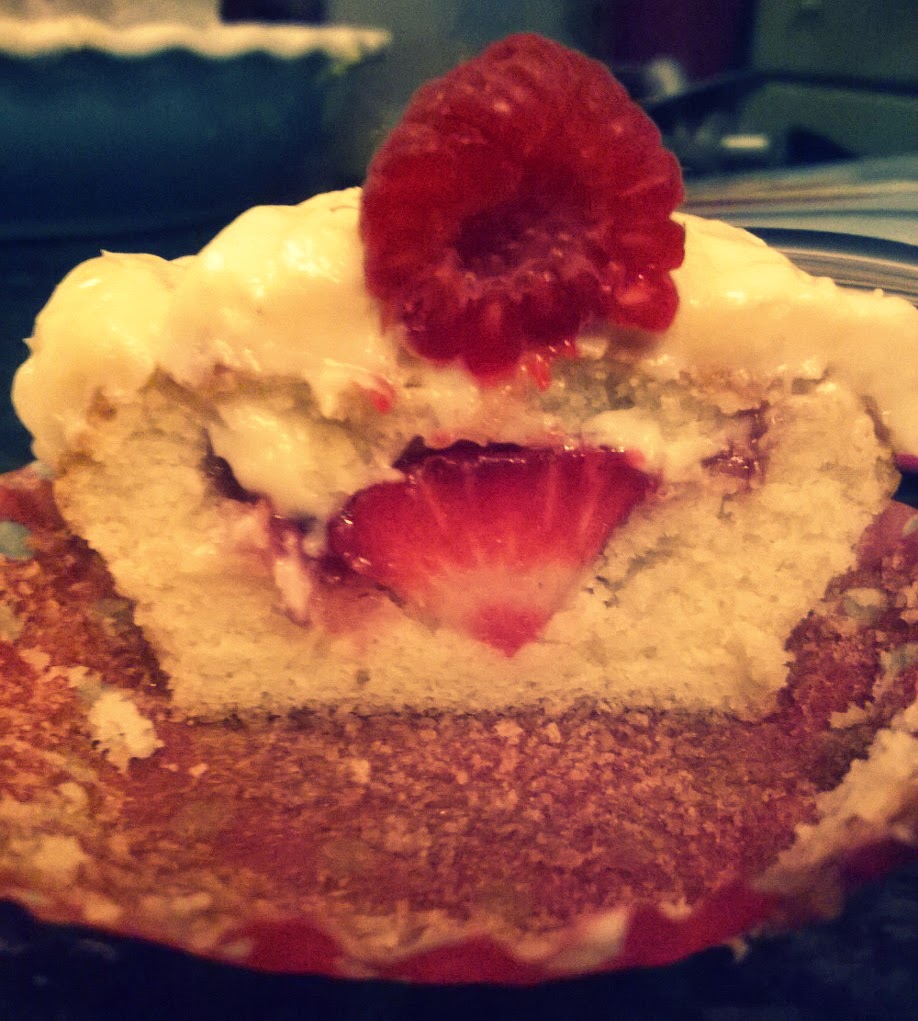
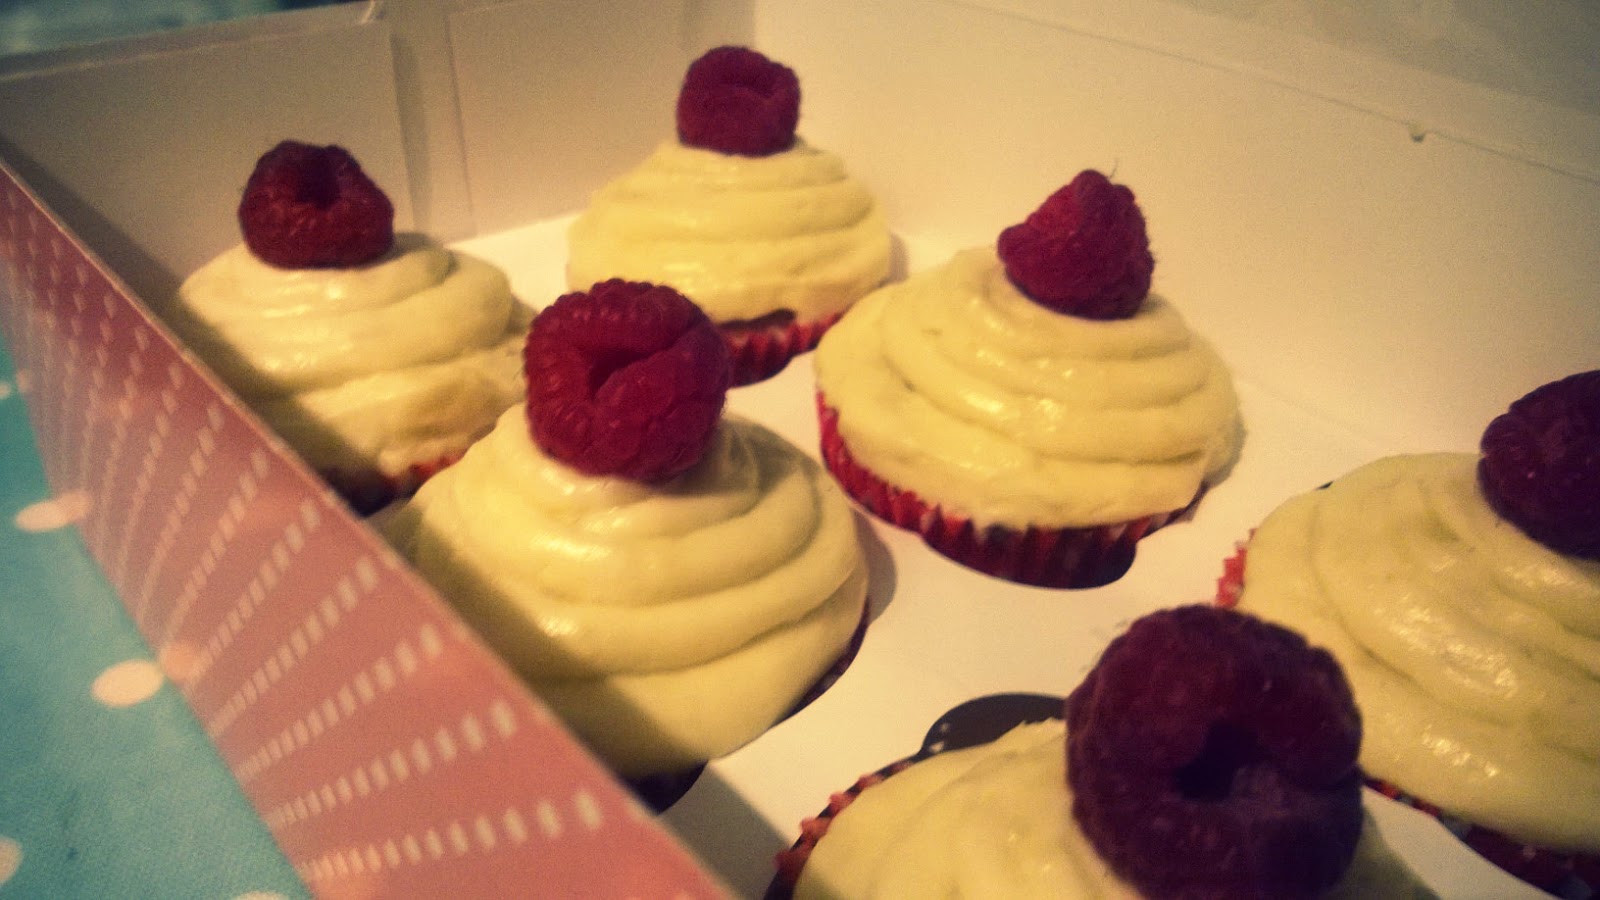
 My Mother has a huge love for custard and since trying these cupcakes has proclaimed them to be her favourite so far! And it really does taste like the trifle pudding that we all know and love, complete with cream, custard, raspberries, and the 'cakey' element, i really think that you will enjoy them, and you will amaze anyone that you make them for as they receive a pocket sized dessert, what more could you want in life!  


This may seem a little complex, because of the creme patisserie element to the recipe, but this is a full proof recipe and is bound to turn out perfect, just don't panic, and keep mixing, and don't be afraid to add more fluid if it seems a bit too thick! 

Makes 12-16 cupcakes

Ingredients: 

Sponge- 

80g butter 
280g caster sugar 
240g plain flour 
1 tbsp baking powder 
1/4 tsp salt 
240ml whole milk 
1 tsp vanilla essence 
2 large eggs 

Filling and Frosting- 

500ml whole milk 
1/2 tsp vanilla essence 
5 egg yolks 
100g caster sugar 
30g plain flour 
30g cornflour 
200ml double cream 
12-16 raspberries 
12-16 strawberries 
100g raspberry jam 

(I know this recipe calls for a lot of ingredients, but trust me, it's worth it) 


Method: 

1.Preheat oven to 190c, gas mark 5, prepare muffin tin.
2.Beat together the butter, sugar, flour, baking powder and salt on a low speed until they are all mixed and resemble fine breadcrumbs.
3.In a jug whisk together the milk, vanilla and eggs, then pour 3/4 into the dry ingredients, and mix on a low speed. Once it is incorporated, add the rest of the milk, and mix until you get a smooth batter.
4.Divide the batter between the muffin cases, filling each case two thirds full, then bake for 18-20 minutes, until the sponge bounces back when lightly pressed. Leave to become completely cool.
5.Whilst the cakes are cooling make the creme patisserie. Place milk, and vanilla in saucepan and bring to boil. In a bowl mix together the egg yolks, sugar, flour and cornflour to make a paste (you may want to add a couple of tablespoons of hot milk to thin)
6.When the milk has boiled, remove pan from the heat and mix 4-5 tablespoons with the egg mix. Then pour this into the milk in the pan, and return to the heat, bring back to the boil whisking constantly once boiling cook for a further minute to cook the flours.
7.Once the custard has thickened, pour onto a baking tray and cover in cling film to cool. 
8.Tip the cooled custard into a large bowl, and beat with a wooden spoon. In a separate bowl whip the double cream  into soft peaks, then fold this into the custard.
9.Hollow out all of the cupcakes, keeping the cut-out pieces of sponge.
10.Place a piece of strawberry in the cupcake, followed by 1/2 teaspoon of jam on top, and then top up with the custard mix (which i prefer to pipe in).
11.Repeat this for all the cupcakes, then replace the sponge, trimming to fit as a lid. Finish off the cupcakes by piping some of the custard mixture on top, add a raspberry on top of the swirled custard to finish.


And thats it! I hope you enjoy them, and with summer fast approaching, and all this glorious british fruit coming into season, i implore you to take up the opportunity and use it! I will be giving you many more recipes for what you can do with our produce in the future too, as i think it's far too good to be wasted! 

P.s. I thought i would give you a quick Bo update too, who is now 18 weeks old and getting on very well indeed!  


 Also, if any of you have any requests of things you would like to see me make, perhaps a favourite dessert compacted into a cupcake like this recipe, then don't hesitate to use the contact box to the left of the screen or comment below, i will greatly enjoy reading any suggestions. 
Until next time, Elise xxx